

Why a dimmer is not simply a switch with a knob
Swapping a standard one-way light switch for a dimmer looks like a ten-minute job, and occasionally it is. But a dimmer is an electronic device rather than a simple make-or-break contact, and it has firm opinions about what it is connected to. Instead of just passing the mains through, it chops the waveform many times a second to reduce the average power reaching the lamp. That means it must be matched to the load it controls.
Get the match right and the dimmer will run cool, quiet and reliable for years. Get it wrong and the symptoms arrive quickly: flickering at low settings, an audible buzz, a narrow usable range of brightness, lamps that fail after a few weeks, or a dimmer that gives up entirely. The most common cause is not a faulty product — it is a dimmer that was never compatible with the lamps on the circuit in the first place.
Match the dimmer to the lamp technology
The single most important decision is choosing a dimmer designed for the lamp type you already have. Dimming technology falls into two broad camps: leading-edge (the traditional triac dimmer) and trailing-edge, which is gentler and usually the better choice for modern loads. Many units sold now are "universal" or multi-way, but that does not mean they will suit every lamp.
- Mains halogen and incandescent: resistive loads and the easiest to dim. A traditional leading-edge dimmer handles these well, and they draw enough power to keep the dimmer above its minimum load.
- Low-voltage halogen on a transformer: the dimmer is driving the transformer, not the lamp. Electronic transformers vary in how well they dim, and replacing a failed lamp with a lower-wattage one changes the load the dimmer sees.
- Dimmable LED: always check the lamp or driver is marked as dimmable, then choose a dimmer with LED compatibility. Even then, drivers from different manufacturers behave differently, which is why reputable dimmer makers publish compatibility lists of tested lamps.
- Compact fluorescent and non-dimmable LED: generally unsuitable. These will flicker, refuse to strike properly, or fail early.
Watch the minimum load and de-rating rules
Dimmers have both a maximum and a minimum load, and the minimum catches people out. A dimmer rated 5–100W LED may fail to start cleanly with a single 4W lamp, producing flicker or a stuttering switch-on. If your total LED load is very small, a dimmer with a lower minimum, or a resistive load module fitted alongside the lamps, can solve it.
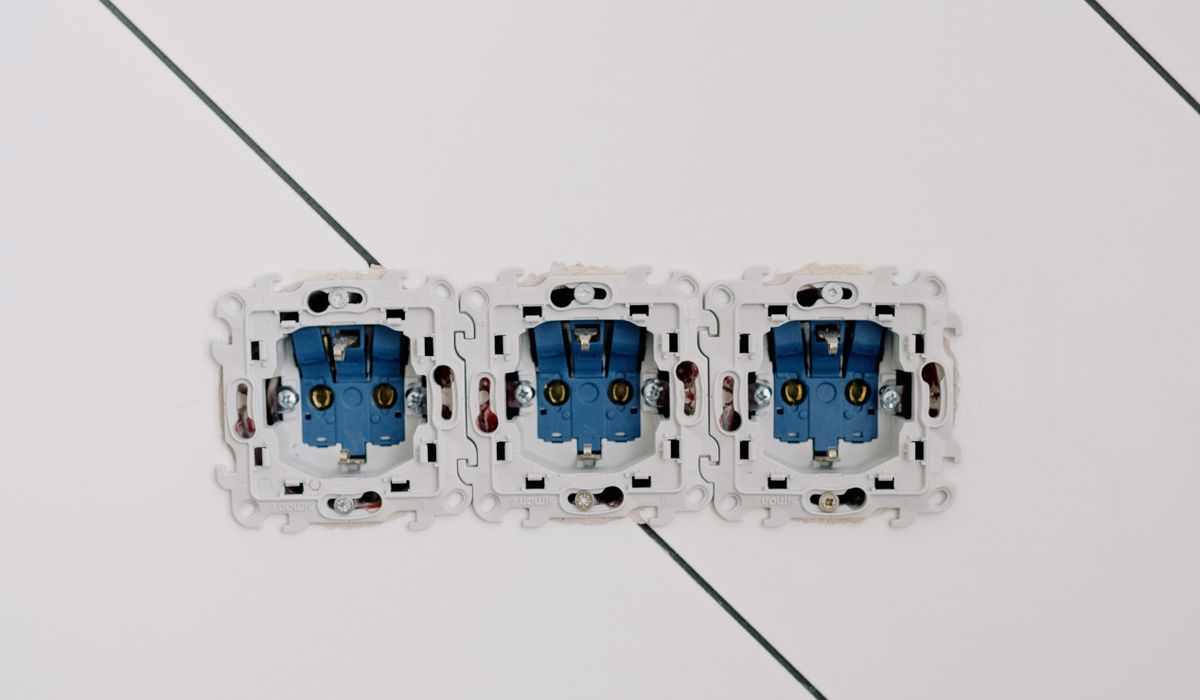
Multi-gang plates need attention too. When several dimmer modules sit side by side behind one plate, they heat each other up, so the manufacturer's instructions usually require de-rating the maximum load — often by 10–25% per gang. Ignoring this is a classic reason for a dimmer that works alone but fails when installed in a four-gang bank. Most installation instructions state this clearly, and it is worth reading them before you buy rather than after.
Check the wiring you actually have
UK lighting circuits are usually wired with the supply looping into the ceiling rose or a junction box, which means the switch position often has no neutral conductor — just the permanent live, the switched live and the earth. Some dimmers need a neutral to power their electronics; others are designed as two-wire units specifically for this situation. Buying the wrong one results in nothing working, or a dimmer that glows faintly when switched off.
Other things to confirm before you start:
- Two-way switching: a standard dimmer cannot simply replace one switch in a two-way circuit. You need a dimmer designed for two-way use with a matching slave unit.
- Back box depth: dimmer modules are deeper than a standard switch. A 25mm box may not accommodate them; 35mm or 45mm is often needed.
- Earthing: metal front plates must be earthed, and the earth conductor must be sleeved and connected properly at the dimmer.
- Circuit capacity: confirm the existing protective device and cable rating comfortably cover the load, particularly where you are replacing a modest lamp with several higher-output fittings.
Fitting it safely and sensibly
Isolate the lighting circuit at the consumer unit, lock it off if you can, and prove the circuit is dead with a tester before touching any conductors. Take a photograph of the existing connections, and label the switched live if it is not already identified with sleeving — a permanent live and a switched live look identical otherwise, and getting them the wrong way round will leave the dimmer permanently on or permanently off.
Terminate conductors firmly, keep the earth continuity intact, and fold the cables so the module sits flat without straining the terminals. Do not wrap insulation around a dimmer module; it relies on airflow to stay within its temperature limits.
If the dimmer flickers, buzzes, or only dims across a narrow range, the answer is almost always compatibility rather than wiring. Try a different lamp from the dimmer manufacturer's tested list, or change the dimmer to a trailing-edge LED model. Persistent buzzing, a hot plate, or a dimmer that trips the protective device points to something more fundamental, and that is the moment to bring in a registered electrician. They can check the circuit design, the load calculation and whether the earthing and protective arrangements are as they should be — and confirm whether the work needs notifying under the building regulations. A well-matched dimmer is a small pleasure every evening; it is worth getting the details right at the outset.





John Doe
14 January, 2022Having no content in post should have adverse..
Chauffina Carr
10 April, 2022We use these tests all time! Killer stuff!
Jim Séchen
16 July, 2022Thanks for all the comments, everyone!